
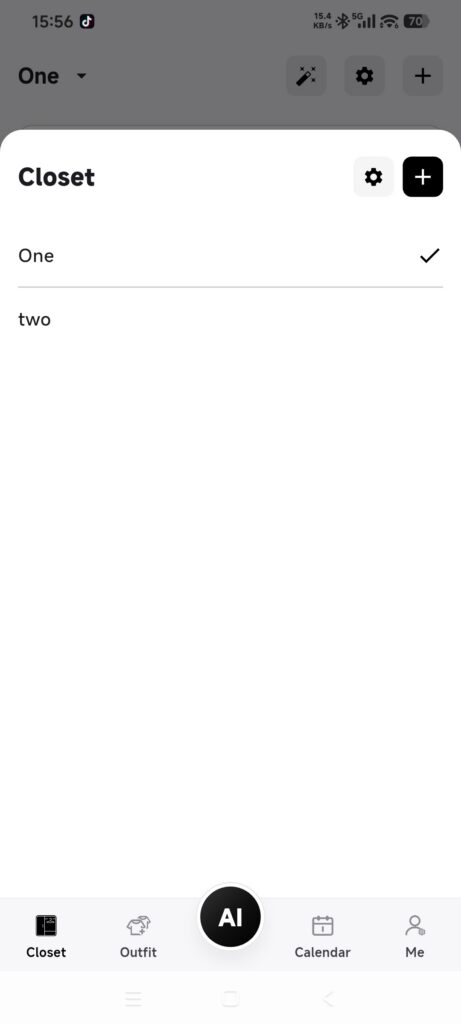
Open the closet menu
- Open Closet.
- Tap the closet name at the top.
- Use the checkmark to identify the current closet, the gear to manage closets, or + to create one.
Create a closet
- Tap + in the closet menu.
- Enter a unique, non-empty name.
- Choose how to initialize it:
- System Default: use the standard DressWise categories and options.
- Copy Another Closet: copy the selected closet’s option structure, not all its items.
- Empty: start without preset options.
- Confirm and wait for initialization.
- DressWise switches to the new closet when creation succeeds.
If initialization fails, the incomplete closet is rolled back. Check the connection before trying again.
Switch closets
- Tap the current closet name.
- Select another closet.
- Wait for Closet to refresh.
- Reopen the menu and confirm that the checkmark moved.
- Check the item count and names.
Switching changes the data used by Outfits, Inspiration, Calendar, Statistics, and AI features.
Confirm it worked
- The new closet appears in the list and has the current checkmark.
- Closet content refreshes for the selection.
- Other features show data from the selected closet.
If it does not work
- The name cannot be saved: remove leading or trailing spaces and use a unique name.
- A copied closet has no items: Copy Another Closet copies options, not the item collection.
- Images are temporarily blank after switching: wait for image sync instead of recreating content.
- Creation failed: check the network and retry once.